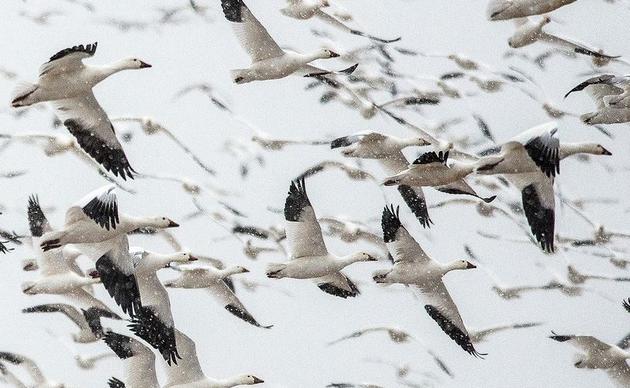
Migration poses an exciting time for birders, but for the birds, these joruneys can be perilous. One of the most dangerous threats birds face are collisions with windows. You can help protect our feathered friends with this easy DIY!
To make window decals or "clings", all you need is:
- Elmer’s glue (or other white glue equivalent)
- Dish soap
- A smooth plastic surface like a sheet protector, sandwich bag, or plastic wrap. (You will want to have a few for this recipe, which allows you tro produce several decals!)
- A paintbrush
- Stencils for tracing (optional—click here to check out our printable bird stencils)
- Sharpies or other markers for decorating
Steps-by-step Instructions:
- Decide on designs! You can draw your own, copy or trace from a photo, or trace from one of our printable sheets. Or, you can just paint on your glue designs as you go.
- Pour two tablespoons of glue into a cup, then put in two drops of dish soap. Stir until the soap is totally blended in.
- Place your plastic surface over your traceable design. TIP: f you are using a plastic bag or a sheet protector, you can place the design you are using inside, to prevent it from moving around as much.
- Use the paintbrush to paint the glue onto the sheet. You will want an even coating that is thick enough to withstand being lifted from the sheet. Make sure there are no gaps or thin, streaky sections. You may need to apply a second coat. Repeat as necessary until you are out of the glue mixture.
- Let dry. This will depend on the thickness of the glue you painted on, but will take at least two hours. The glue will become transparent as it dries—when it is completely transparent and smooth, that means it is dry.
- Once the clings are entirely dry, it is time to color! Leaving the clings on the plastic, use markers (permanent or water-based markers are both fine) to color in your creations as you wish! TIP: Make sure to color gently so as not to rip the decals.
- Once the marker ink is dry, you can carefully remove the clings from the sheet. You will need to peel them off slowly and gently to make sure the clings do not fold over and stick to themselves. If they do, you will very likely be able to separate it, but there is a possibility of a rip or tear.
- Apply the decals to a window, sit back, and admire your work! The side pressed to the window should be the side you did not color. Place and gently smooth them on. TIP: For maximum effectiveness against window collisions, decals should be placed no more than 2-4 inches apart on your windows.
Related
Birding
Spring Migration FAQs
How much do you know about the comings and goings of the birds outside your window?
Bird-Friendly Communities
Monthly Tips & Reminders for a Healthy Yard
Keep your backyard bird-friendly all year round!
Bird-Friendly Communities
Selecting a Bird Feeder
A variety of feeders are available to attract different species to your yard.
How you can help, right now
Donate to Audubon
Help secure the future for birds at risk from climate change, habitat loss and other threats. Your support will power our science, education, advocacy and on-the-ground conservation efforts.

